
So, you need following guides by James A. Chambers
- StarFive VisionFive 2 Firmware / Bootloader Update Guide
- StarFive VisionFive 2 Official Debian SSD Boot Guide
Booting from old image can result in errorneus RAM size display, don't be afraid seeing 4GB instead of 8GB. If you follow this article, this should not happen, but anyway.
Firmware update
You can't install new images without updating your firmware.
Download firmware
To do this, get sdcard.img, visionfive2_fw_payload.img and u-boot-spl.bin.normal.out from Vision2 v2.10.4 Release.
Latest version can prevent you from booting, try v2.10.4 if you have any issues.
wget https://github.com/starfive-tech/VisionFive2/releases/download/VF2_v2.10.4/{sdcard.img,visionfive2_fw_payload.img,u-boot-spl.bin.normal.out}
Prepare SD card
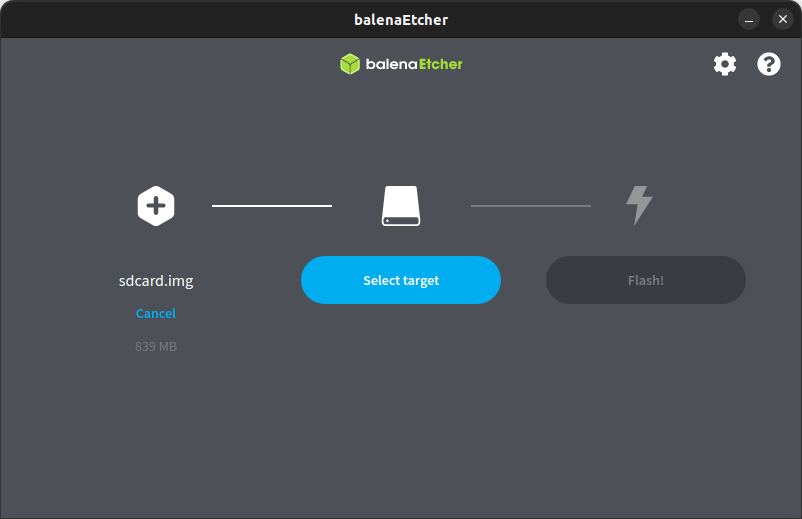
Then, flash it with balenaEtcher to your SD card:
Copy visionfive2_fw_payload.img and u-boot-spl.bin.normal.out to the /root of your SD card rootfs, so you can access them later without
setting up ftp servers.
Boot
Insert the SD card into the VisionFive 2 and power it on. After minute or two, you should see flashing green light on the board. On connected monitor you should see the load progress. There will be no GUI or console, so you need to connect to the board via SSH.
Use root as username and starfive as password.
Flash firmware
As per guide, you need to install mtd-utils and flash the firmware:
apt update && apt install mtd-utils -y
sudo flashcp -v u-boot-spl.bin.normal.out /dev/mtd0
sudo flashcp -v visionfive2_fw_payload.img /dev/mtd1
Install Debian
Download image
Download image from download page. I've used 202302 image from Google Drive.
You can use my magnet link, but make sure to check hashes.
Flash to SD card with balenaEtcher and boot.
Use root username, starfive password. First login will fail, just try again.
GUI can freeze, just press restart button.
There is no SSH server by default, you should use GUI.
To install ssh server, run:
apt-get install -y openssh-server
Updating
GUI can be broken after update, so make sure that SSH server is working.
System can be outdated (probably is fixed in 202303 image), you should download new keyring and upgrade:
wget http://ftp.de.debian.org/debian/pool/main/d/debian-ports-archive-keyring/debian-ports-archive-keyring_2023.02.01_all.deb
dpkg -i debian-ports-archive-keyring_2023.02.01_all.deb
Edit your sources.list:
$ nano /etc/apt/sources.list
deb https://snapshot.debian.org/archive/debian-ports/20230316T202809Z unstable main
After that, you can update your system:
apt-get update && apt-get upgrade
This can take some time.
SSD
The NVME SSD support is pretty unstable, sometimes the system can't find a device.
Most of the time you should just reboot your devboard and this will be resolved. If not, try re-connecting your SSD to M2 slot, sometimes contacts just does not match.
Anyway, problems with SSDs are pretty normal and I find myself re-flashing SD cards pretty often to fix it.
Also, system can freeze in the middle of some IO intensive task, like apt-get upgrade.
Probably it is due to overheat, but I'm not sure.
Backup
Backup your data from SD card, this will save your time. You don't want to setup ssh server and wait for apt again, if something fails.
Shutdown your devboard (systemctl halt) remove SD card and create a backup:
sudo dd if=/dev/sde of=backup.img
See that article how to shrink resulting image.
Copy partitions
Refer to original guide.
When doing
cat /dev/mmcblk1 > /dev/nvme0n1
This will take some time. This is roughly 10 megabytes per second, and this will copy full SD card to SSD, not just partitions (so shrinking does not help, only using smaller SD card).
Find a valid root partition first. The mmcblk1p3 can be not a root.
To find a partition, use blkid:
blkid | grep root
/dev/mmcblk1p4: LABEL="root" UUID="44d3144d-069b-4e11-b6b4-68c296328a12" BLOCK_SIZE="4096" TYPE="ext4" PARTUUID="c3a2885b-b39c-b54d-b8fa-eac6faccbed8"
So, in that case you should use /dev/mmcblk1p4 and /dev/nvme0n1p4 instead of /dev/mmcblk1p3 and /dev/nvme0n1p3 in the guide!
Fix extlinux.conf
You probably should update this file on both SSD and SD:
mount /dev/nvme0n1p3 /mnt/boot/
Note the mmcblk1p4 and nvme0n1p4 should be your root partitions (blkid | grep root).
sed -i 's/mmcblk1p4/nvme0n1p4/g' /boot/extlinux/extlinux.conf
sed -i 's/mmcblk1p4/nvme0n1p4/g' /mnt/boot/extlinux/extlinux.conf
Also don't forget to follow guide and generate new UUID for SD card root partition:
tune2fs -O metadata_csum_seed -U random /dev/mmcblk1p4
You probably want to resize your SSD partition:
e2fsck -f /dev/nvme0n1p4
To do this, use fdisk. Delete your root partiton (d) and re-add it (n):
fdisk /dev/nvme0n1
After that, run e2fsck -f /dev/nvme0n4p again and resize2fs /dev/nvme0n1p4 to resize partition.
To be sure, run e2fsck again.
Bonus
Networking works pretty well:
root@starfive:~# iperf -c 192.168.50.114
------------------------------------------------------------
Client connecting to 192.168.50.114, TCP port 5001
TCP window size: 16.0 KByte (default)
------------------------------------------------------------
[  1] local 192.168.50.140 port 41680 connected with 192.168.50.114 port 5001 (icwnd/mss/irtt=14/1448/721)
[ ID] Interval       Transfer     Bandwidth
[  1] 0.0000-10.0249 sec  1.04 GBytes   894 Mbits/sec